
How to Share Just One Monitor When You Have Two
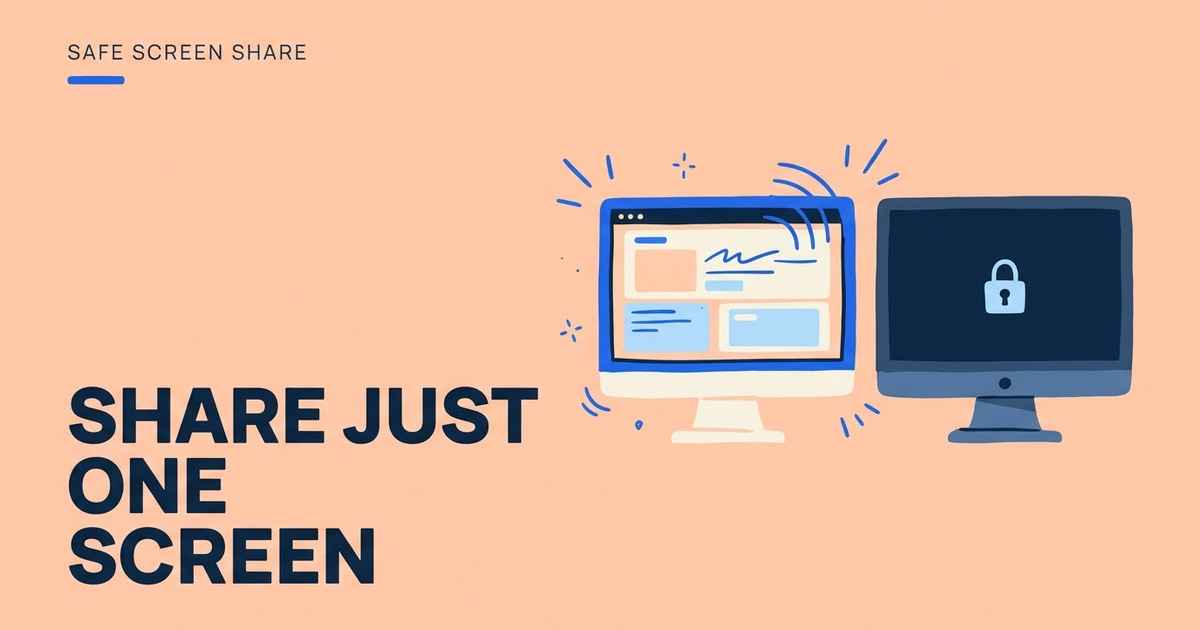
Two monitors make calls easier. Notes on one screen, the meeting on the other. But they also double the chance of sharing the wrong thing. Pick the wrong display and the meeting sees your inbox, your chat, or a private document instead of your slides.
The fix is a simple setup: decide which screen is for sharing and which is private, then share a window instead of a whole display whenever you can. Here is how that works in Zoom, Microsoft Teams, Google Meet, and Webex, plus presenter view for slides.
Slides, demo app, or the one window you present
Notes, chat, email, the meeting window itself
Nothing else on either screen shows up
Give each monitor a job
Before the call, choose one monitor for content and one for everything else. Put the meeting app, chat, email, and notes on the private screen. Put only the material you will present on the shared screen.
Keep the arrangement the same every time. When the setup is a habit, you stop dragging windows around in the middle of a call.
- Shared screen: slides, demo browser, design file.
- Private screen: meeting window, chat, email, notes, password manager.
- Wallpaper on the shared screen: plain, with no desktop files.
Share a window instead of a screen
Sharing a single window is safer than sharing a whole monitor. The meeting sees only that window, even if other apps open on top of it on your screen. Pop-ups and notifications stay private.
Share the whole screen only when you need to move between several apps. If you do, use the prepared shared monitor, not the one with your chat on it.
Pick the right screen in each app
Every major meeting app shows thumbnails of your displays when you start sharing. Look at the thumbnails, not the labels. "Screen 1" on one app may be your laptop and "Screen 2" your external monitor, or the other way round.
- Zoom: click Share, then choose the screen thumbnail or a single app window.
- Microsoft Teams: click Share, then pick a Screen or a Window. With two monitors you choose which screen.
- Google Meet: click Present now, then choose a tab, a window, or an entire screen.
- Webex: click Share, then pick the screen or application from the list.
Check what you are actually sharing
After you start, look at the preview or the colored border most apps draw around the shared area. If the border is on the wrong monitor, stop and pick again. It takes five seconds and saves a lot of embarrassment.
Moving the meeting window onto the shared screen is a common mistake. It creates a hall of mirrors effect and also shows the chat panel to everyone. Keep it on the private screen.
Use presenter view for slides
PowerPoint, Keynote, and Google Slides all have a presenter view that shows your notes on one screen and the clean slides on the other. In PowerPoint, turn on Use Presenter View in the Slide Show tab. If the notes appear on the wrong screen, use Swap Displays in the presenter view toolbar.
When you share, pick the slide window or the screen with the audience view. Your notes, upcoming slides, and timer stay on your private monitor.
Laptop plus one external monitor
The most common setup is a laptop with one external monitor. The big screen is the natural choice for sharing because it has more room. Keep the laptop screen for the meeting window, chat, and notes, since it sits closer to you and is easy to glance at.
Check which display is set as the main one in your system settings. New windows and notifications often open on the main display. If that is your shared screen, private pop-ups land right where the meeting can see them. Making the private screen the main display reduces that risk when you share a whole monitor.
Use virtual desktops for a clean shared screen
Windows and macOS both let you create extra desktops. On Windows, use Task View to add a new desktop. On a Mac, use Mission Control. Put only your presentation apps on a fresh desktop on the shared monitor and leave everything else where it is.
This is helpful when you have to share a full screen. Switching to the clean desktop before you share clears the clutter in one step, and switching back after the call restores your normal layout.
Recording with two monitors
Screen recorders face the same choice as meeting apps. Recording a single window or one display keeps the other screen out of the file. Recording all displays at once captures everything, including the chat you kept on the side.
Before you record a tutorial or a demo, do a short test recording and play it back. It is the fastest way to confirm that only the right screen is in the frame.
Make the shared screen readable
A large or high resolution monitor can look tiny to people watching on a laptop or phone. Text that is easy for you to read becomes a blur on their side, and they ask you to zoom in, which often means scrolling into areas you did not prepare.
Share a single window and make it a sensible size, or zoom the app to 125 to 150 percent before the call. Both keep the content readable and the frame tight.
If the shared screen is black or empty
On a Mac, meeting apps need screen recording permission before they can share a display. If people see a black screen or only your wallpaper, open System Settings, go to Privacy and Security, and allow screen recording for the meeting app. You usually need to quit and reopen the app afterward.
Do this a day before an important call. Fixing permissions live means sharing settings windows and restarting the app while everyone waits.
Quiet both screens
Notifications can appear on either monitor, and on some systems they follow the main display. Turn on Do Not Disturb on Windows or a Focus mode on macOS before you share. Close apps that might open a pop-up on the shared screen.
- Do Not Disturb or Focus on.
- Desktop icons hidden on the shared screen.
- Browser on the shared screen in a clean profile.
- Meeting window and chat on the private screen.
Practical examples
Setups that work
- Sales demo: browser on the external monitor, CRM and notes on the laptop.
- Teaching: slides in presenter view, class chat on the laptop screen.
- Code walkthrough: editor shared as one window, terminal with secrets kept off screen.
- Design review: one design file window shared, Slack on the other screen.
Related guides
- Share a window vs entire screen
- How to hide notifications while screen sharing
- Zoom vs Google Meet vs Teams for screen sharing
- Is screen sharing safe?
Official sources
- Microsoft: Present on multiple monitors in PowerPoint
- Google: Present during a video meeting
- Webex: Share your screen or application in a meeting
Frequently asked questions
Can people see my second monitor when I share one screen?
No. If you share one display, only that display is sent. The other monitor stays private unless you also share it.
How do I know which screen is Screen 1?
Use the thumbnails in the share picker. On Windows you can also open Display settings and click Identify to see each monitor's number.
Is sharing a window better than sharing a monitor?
Usually yes. A shared window hides notifications and other apps. Share a full monitor only when you need to switch between apps.
Why does my presenter view show on the wrong screen?
PowerPoint picks a screen automatically. Use Swap Displays in the presenter view toolbar to move the notes to your private monitor.
Can I share both monitors at once?
Some apps, including recent Zoom desktop versions, can share more than one screen. It is rarely needed and shows twice as much, so share one screen or one window unless you really need both.
Need to hide sensitive details that must stay on screen? Try Safe Screen Share.